Step 1: Create a new account or login to Azure and determine what you wish to accelerate. This can either be storage, a website, or a cloud service.
Step 2: Navigate to the CDN icon and click New 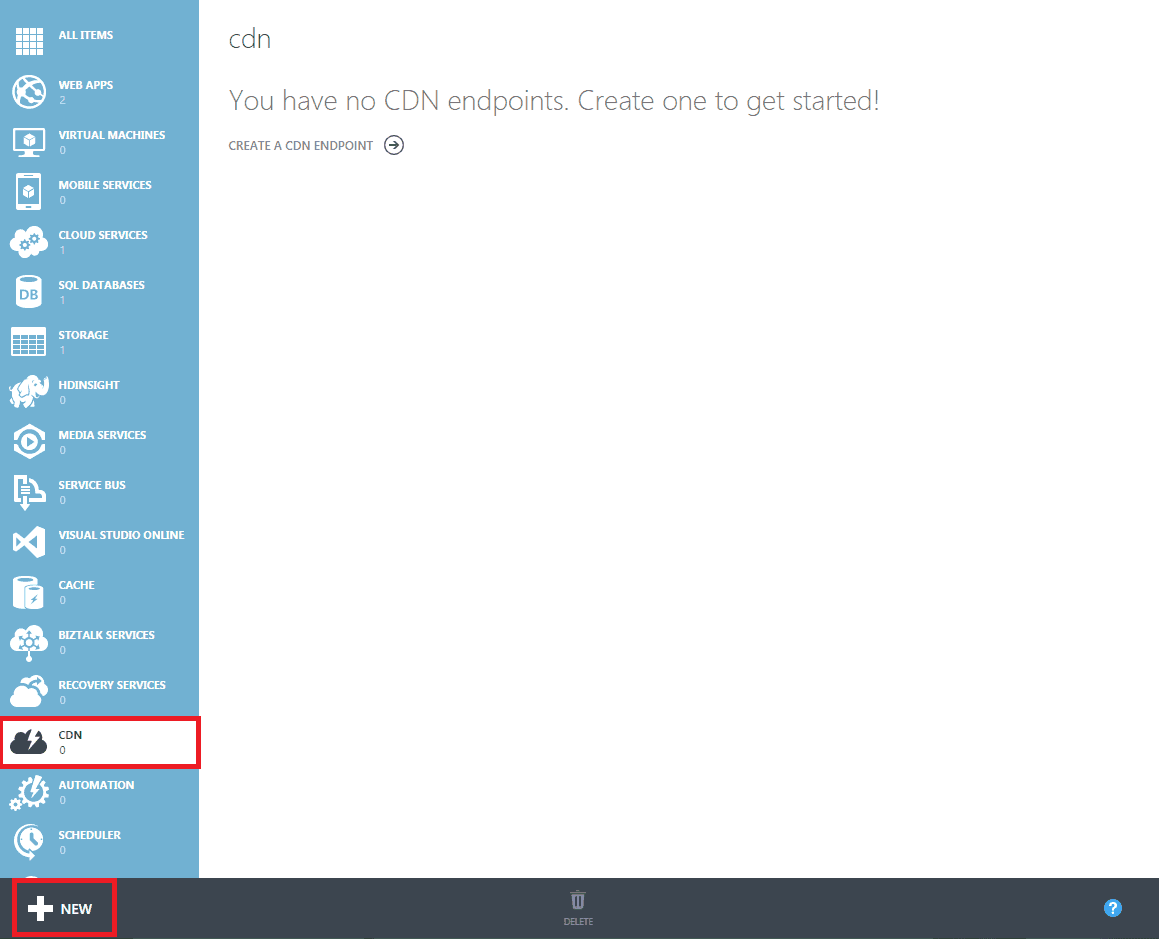
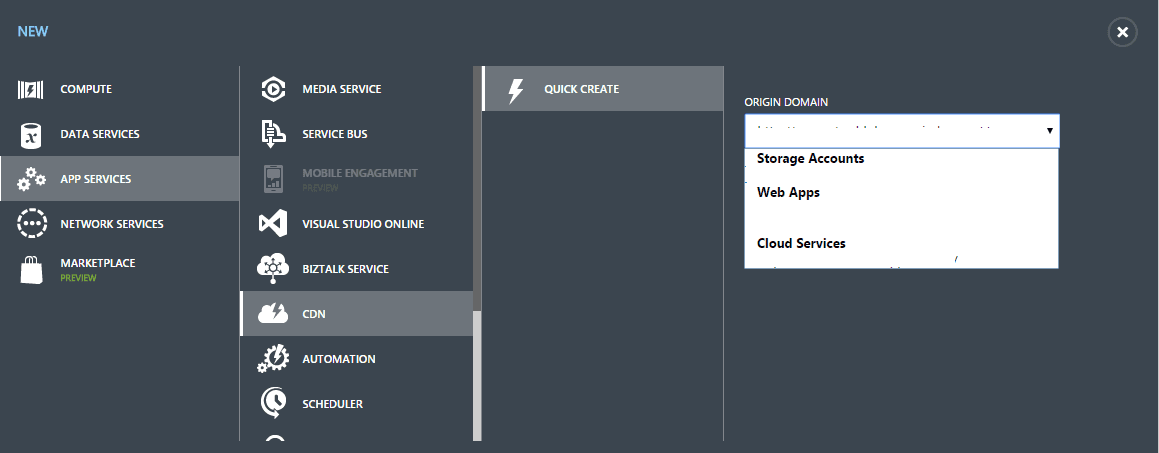
Step 3: Click Quick Create, then choose the origin domain (what you wish to speed up). For this tutorial I chose my Blob storage account because it contains all the assets such as images, site files, and other static content.
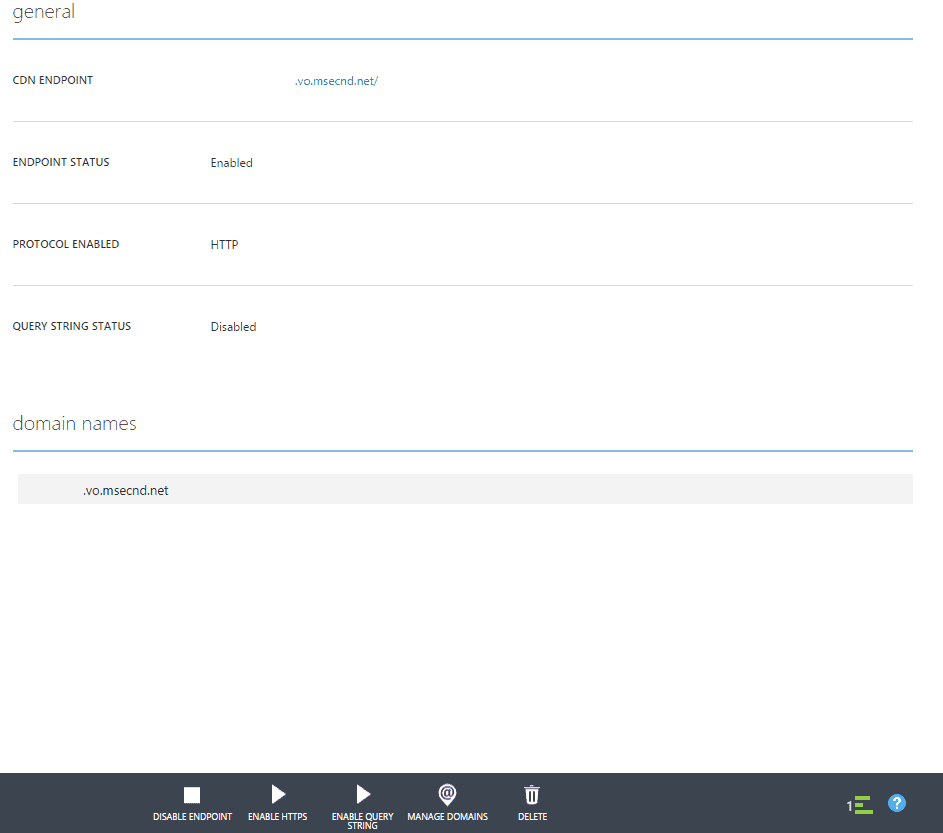
Step 4: Upon successful creation you are met with the settings page. Here you can enable HTTPS and mask the *.vo.msecnd.net domain
Step 5 (optional): Click “Manage Domains,” and add in your domain name. For example: cdn.mydomain.com, then go into your domain/dns provider and create a CNAME record that points from cdn.mydomain.com to the CDN endpoint given in Azure.
I use Cloudflare as my DNS host. Your settings should match below. Allow at least 1 hour then click the check box in Azure.

NOTE: Cloudflare acceleration must be disabled. i.e. the cloud should be gray. When using storage as the origin account it takes 1-2 hours for files to appear on the CDN because they must be cached on servers worldwide.
You should now replace static file URLs on your websites to the CDN to allow for almost instantaneous loading. Current Azure CDN pricing